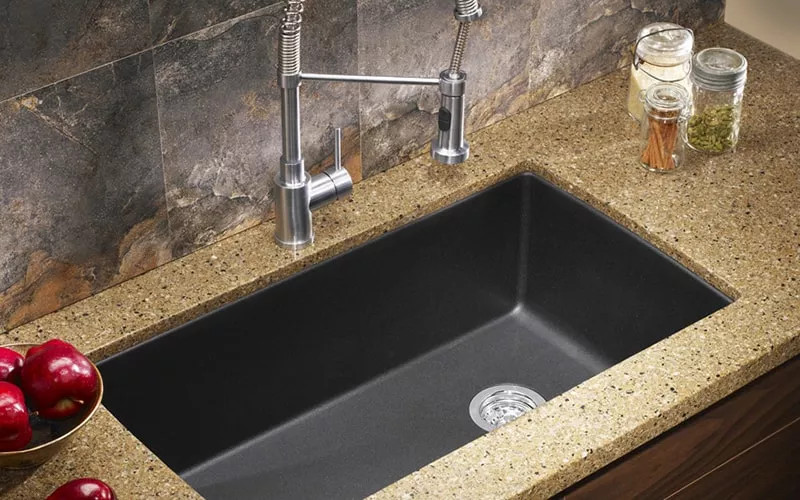
Undermount kitchen sinks offer the look of class and distinction. We love the combination of undermount sinks with granite countertops. Some shy away from an undermount installation because they are not quite as easy to configure as their drop-in (self-rimming) counterparts. Truth be told, an undermount sink is almost as easy to install, there are just a few extra steps. If you are trying to decide which type of kitchen sink to install, this article will help you determine whether an undermount sink is worth the extra effort.
Prepare Before You Start Your Installation
Before beginning your install, you will need to pick out a few essential items in order to complete the project. Obviously, you need a sink. PlumbersStock offers the best prices on kitchen sinks, and currently, we are running a promotion on Elkay E-Granite sinks. One concern with composite granite sinks is that they may clash with your granite counter, so we recommend choosing a design that contrasts well with your existing kitchen design. As far as tools and items go, you will need the following:
- Power drill
- Screwdriver
- Clamps
- Silicone sealant
- Mounting hardware (should come with sink)
- Length of 2x4
Mounting Sink to Granite in 7 Steps
Once you have picked out the perfect sink and collected all the necessary tools needed you can then begin the installation process.

- If you are unable to find the perfect size for the existing hole, or there is no existing hole, have a professional cut out your granite to the exact size to match your sink. Some individuals try doing this part on their own, and unless they know what they are doing, they can mess up a perfect and expensive piece of granite. If you are not sure what you are doing it's always best to ask a professional for help.
- Cut your 2x4 about 1 foot longer than the hole in your countertop. Lay the 2x4 flat over the center of the sinkhole (width-wise) leaving 4” to 6” on either side. Using a bar clamp (I recommend Irwin quick grip Clamps), clamp the sink to the underside of the countertop using the sink drain holes and the 2x4 as your points of contact. No need to tighten your clamps too tight, a snug fit will allow you to adjust the sink into the proper spot. The 2x4 should be able to shift a little along the top of the countertop (with a little encouragement) without damaging the granite (or quartz). Over-tightening of your clamps could damage your sink, so remember, this step is simply for measuring and marking the layout for your under-counter clamps.
- Now attach the wing nuts onto the screw heads, look over the placement of the sink once more, if you’re satisfied with the placement you can move on to the next step. Take a pencil and mark each spot where a mounting clip is (i.e.- wing nut location). With the holes marked, you will now want to remove the sink. After the sink is removed, you will drill a hole at each pencil marking using a power drill and ¼ inch drill bit in order for the inserts to be tapped into the holes. Note: be gentle, use a rubber headed hammer so that the granite/quartz is not damaged! Identify where the holes need to be drilled to attach your sink to your granite. Once you have marked where the holes need to be, remove your sink and drill in the designated spots.
- Use some rubbing alcohol to clean the ridge. Once the ridge is clean, you can now lay down a small bead (line) of a silicone sealant around the edge. Carefully place and re-clamp the sink into the correct spot.
- You can now put the wing nuts on by threading them and carefully tightening the screws. This will anchor the inserts, giving the sink a solid and durable installation.
- Pro tip - Use masking tape and mark where the fittings need to be placed on your granite countertop. You will need a 1-1/4 inch Diamond Coring Bit for the appliance holes. These bits are specifically designed for this type of project. Do not try and use a wood drill bit, as you will ultimately damage that beautiful new countertop.
- Allow for the sealant to dry (cure) for 12 hours or overnight. After this, you can check for leaks around the rim of the new sink and attach the plumbing fixtures.
Additional Tips
Installing an undermount sink in granite can be an easy job if you know what you are doing. If you have any questions or need any help to be sure to ask a professional. Never just guess as it could cause big problems. Always be sure to read your instruction manual that comes with the sink. Don’t be afraid to ask a friend to help you with the heavy lifting. Save your back! Following these simple tips will help your install go much easier and will make for a much better experience. Let us know in the comment section if you need more help than is offered here. Thank you for choosing PlumbersStock for your learning resource on how to install an undermount sink in granite.
Related Resources:
Installing a Self-Rimming Sink
How to Install a P Trap
Installing a Single Hole Kitchen Faucet
Replacing a Lavatory Faucet
How to Install an InSinkErator


