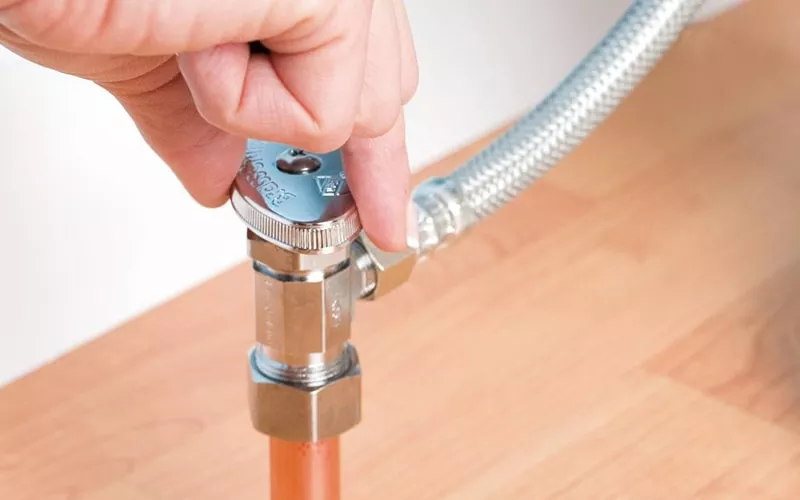
Most toilets these days employ flexible supply lines, but every once in a while you will encounter rigid supply lines. We'll cover both in this quick tutorial guide on how to replace a toilet supply line. If you still have questions remaining after you read this, don't hesitate to contact us.
Replacing a Toilet Supply Line in 6 Steps
Before starting a project, make sure you have all the right plumbing tools. This task can be accomplished by the novice do-it-yourselfer if these 6 easy steps are followed:
- Your toilet line likely is controlled by a straight or angle valve. Use the knob on the valve to cut off the supply of water. A clockwise motion will shut off the water.
- Empty the toilet tank of all water. This can be accomplished by flushing the toilet a few times.
- You will likely need to use an old dirty towel to wipe up any remaining water in the tank.
- Loosen up each end of the supply line by applying a wrench to the nuts securing the line.
- Remove the existing supply line and install the new toilet supply line. Ensure that the line is connected securely.
- Turn the valve back on to allow water to run to the toilet tank. Operate the toilet and check for leaks.

How to Replace a Rigid Toilet Supply Line
There is likely no good reason for you to have a rigid supply line, so our recommendation is to just replace it with a flexible toilet supply line. You should be able to simply loosen the nuts on each end of the rigid supply line and remove it with ease.
Save on Repairs with PlumbersStock
Remember, you can save big on all the parts and tools necessary to complete this project, right here at PlumbersStock. We are leaders in plumbing supply online for good reasons. We've got everything and great prices. You can also find other helpful how-to plumbing tutorials here on the PlumbersStock.
Related Resources:
Measuring a Toilet Rough-In
Replacing a Toilet Flange
How to Fix a Toilet Tank Leak


